Download of Simulations
Chronos Tools
After running our runs, we go to the Chronos Tools folder (depending on the version each person has — ideally the most recent one).
This folder needs to be on the C drive of our PC and not on OneDrive.
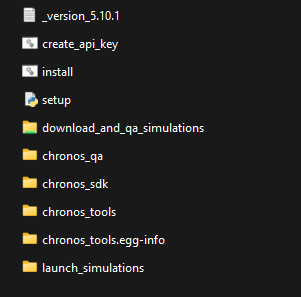
Inside download_and_qa_simulations we'll see the following folders:
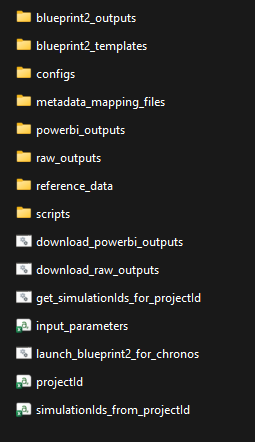
Input Parameters
We open input_parameters.
-
In cell B2, we put the project name, in the format:
("central/low"), (year), (country), ("standalone/co-location"), (hours), (cy) -
Then we have 2 options:
-
simulationId_list: we put the Simulation IDs individually, one below the other — we find them in EOS, in the Execution Details of each run.
-
projectId_list (column A): if we have many runs, we put the project ID — we find it on our project's page (with the successful runs), in the URL, in the part between the
/.../, toward the end:
-
We should have deleted the runs with errors.
:::tip Note The Simulation ID always has dashes (-) between numbers/letters, while commits only have numbers and letters (no dashes). :::
Once we've filled it in, we press Save and close the file.
Comparing with FLEX
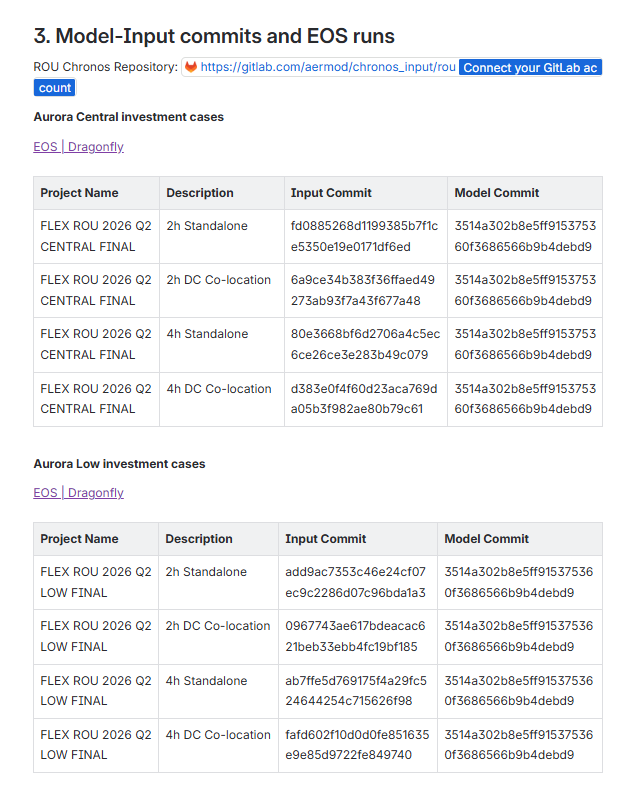
We'll often want to compare our scenarios with equivalent scenarios from FLEX. We can do this by downloading those scenarios alongside our own. We can find them in 2 places:
-
Confluence — we search for the country we're working on, that it says FLEX, and that it's the most recent version. We look for something like in the screenshot, depending on whether it's central/low, 2h/4h, and standalone or co-location.
-
EOS, in the Chronos tab — we look for the corresponding folder with the country we're working on, that it says FLEX, and that it's the most recent version, as in the example screenshot.
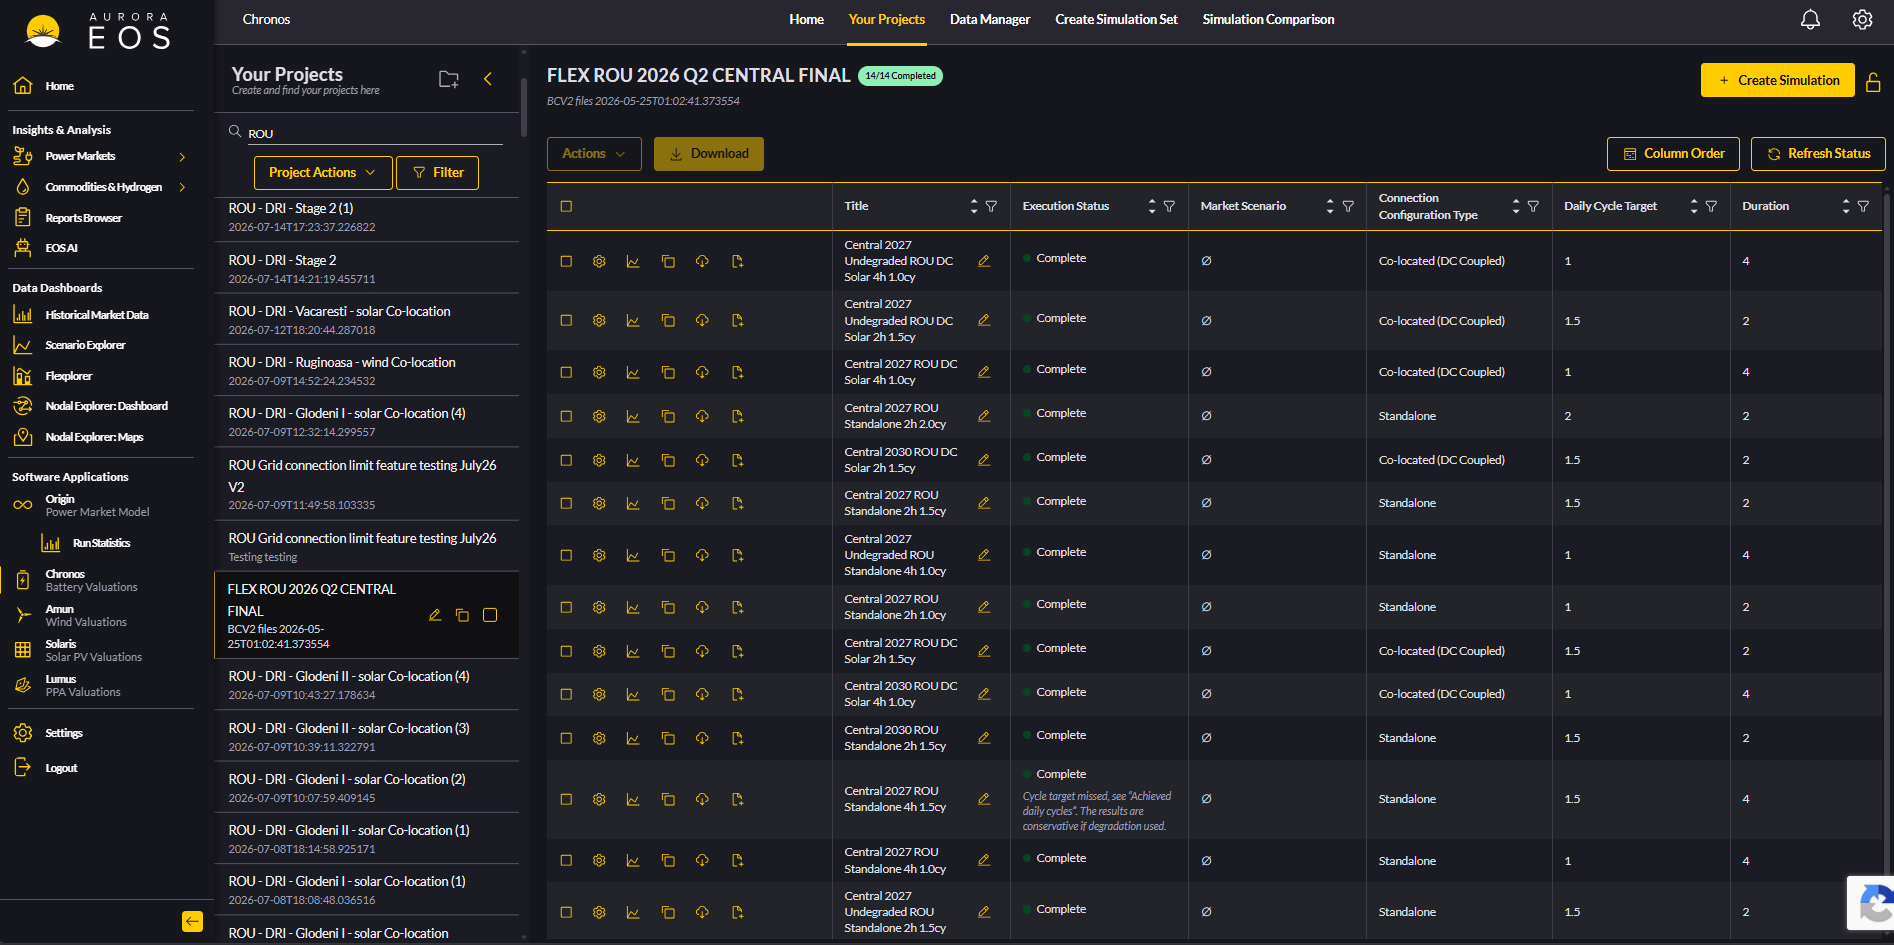
From there we pick which scenarios we want and copy their Simulation IDs, or alternatively we take all the scenarios as a package via the project ID in the URL.
Download Raw Outputs
We click download_raw_outputs → Run. This opens cmd (or PowerShell), where:
- We type grid, so we have a common unit for comparisons.
- We enter the most recent year for currency inflation year — as a rule of thumb, we generally go 1 year back.
- The files will download → press any key to continue.
We're all set! The results of the runs will show up in the raw_outputs folder, under the project name we gave in input_parameters.